

Kubernetes Provider with Minikube and VS Code Browser
Purpose
This quickstart sets up a small Kubernetes cluster that stands in for an on-premise one, then configures a Kubernetes provider.
Install VirtualBox
Minimum machine requirements
Minimum requirements from the VirtualBox and Ubuntu Desktop documentation:
| Item | Minimum requirement |
|---|---|
| CPU | dual core CPU |
| RAM | 16GB (the walkthrough below allocates 8GB to the guest VM, so the host needs headroom on top of that) |
| Storage | 30GB |
| Network Connectivity | access to public internet |
Download VirtualBox
Download and install VirtualBox on your machine.
Create an Ubuntu 22.04 virtual machine
Download the Ubuntu Desktop 22.04 ISO
This walkthrough needs an x86-64 host. Download ubuntu-22.04.x-desktop-amd64.iso from Ubuntu 22.04.
Create the virtual machine
In VirtualBox, go to 'Machine' > 'New...' to open the new virtual machine dialog.
New virtual machine dialog
Step 1 - Name and operating system
| Input | Suggested Value |
|---|---|
| Name | ubuntu-desktop-22.04 (name used through this example) |
| Folder | default value is suitable in most cases |
| ISO Image | browse to the path of the downloaded ubuntu 22.04 ISO |
| Skip unattended installation | ticked (the installer then sets up the sudo group) |
Select 'Next'
Step 2 - Hardware
| Input | Suggested Value |
|---|---|
| Name | ubuntu-desktop-22.04 (name used through this example) |
| Base Memory | 8192 MB (minimum recommended) |
| Processors | 2 CPU (minimum recommended) |
Select 'Next'
Step 3 - Virtual Hard Disk
| Input | Suggested Value |
|---|---|
| Name | ubuntu-desktop-22.04 (name used through this example) |
| Create a new hard disk now | 30 GB (minimum recommended) |
Select 'Next'
Step 4 - Summary
Review the summary and click 'Finish' to create the VM.
Start installation
To start the installation, select the VM 'ubuntu-desktop-22.04' and click 'Start'.
VirtualBox powers up the VM and starts the Ubuntu installer.
Step 1 - Installer mode
Select 'Try/Install Ubuntu'
Step 2 - Install
Select Language and Install Ubuntu
Step 3 - Keyboard layout
Select your keyboard layout, then select 'Continue'.
Step 4 - Update and other software
| Input | Suggested Value |
|---|---|
| Name | ubuntu-desktop-22.04 (name used through this example) |
| Normal or Minimal Installation | Minimal Installation |
| Download updates while installing Ubuntu | yes |
| Install third party software for graphics and WI-FI hardware and additional media formats | yes. This adds closed-source drivers and software that Ubuntu does not include. |
Step 5 - Installation type
Select 'Erase disk and install Ubuntu', click 'Install Now'
When asked to write the changes to disks, select 'Continue'
Step 6 - Where are you?
Select your location, click 'Continue'
Step 7 - Who are you?
| Input | Suggested value |
|---|---|
| Your name | dev |
| Your computer's name | devsys |
| Pick a username | dev |
| Choose password | your password |
| Confirm your password | your password |
Select 'Continue'
Install Minikube on Ubuntu 22.04
Install the packages for Minikube and VS Code:
sudo apt update
sudo apt install git vim gpg wget -y
Install VSCODE
Follow the VS Code Linux setup guide.
Install Minikube
Clone Sander van Vugt's CKAD repository from the Installing Minikube on Ubuntu lesson:
git clone https://github.com/sandervanvugt/ckad.git
cd ./ckad
./minikube-docker-setup.sh
Create startup script
cd ~
touch minikube-start.sh
sudo chmod u+x minikube-start.sh
Add the following contents to minikube-start.sh:
#!/bin/bash

minikube start --driver=docker --cni=calico
Start Minikube from your home directory:
~/minikube-start.shRun the script again after each VM shutdown or reboot.
Test your install
Check the install:
kubectl get allExpected output:
kubectl get all
NAME                 TYPE        CLUSTER-IP   EXTERNAL-IP   PORT(S)   AGE
service/kubernetes   ClusterIP   10.96.0.1        <none>        443/TCP   4d14h
Install Devsy
Download and install the Linux DEB package, as described in Install Devsy:
cd ~/
wget https://github.com/devsy-org/devsy/releases/latest/download/Devsy_linux_amd64.deb
sudo dpkg -i Devsy_linux_amd64.deb
Test the Devsy install
Start Devsy:
devsyConfigure Minikube for the provider
Before you configure the Kubernetes provider, create a persistent volume for the devcontainer and find a kubeconfig.
Create a Kubernetes persistent volume for devcontainers
See the Kubernetes persistent volume docs.
mkdir ~/devsys
cd ~/devsys
touch devsy-pv.yml
vim devsy-pv.yml # or your preferred text editor
Edit devsy-pv.yml and save it:
kind: PersistentVolume
apiVersion: v1
metadata:
  name: devsy-pv
  labels:
    type: devsy
spec:
  capacity:
    storage: 1Gi
  accessModes:
    - ReadWriteOnce
  hostPath:
    path: "/mnt/data/devsy"
The hostPath directory must exist inside the Minikube node, not on your host machine. Create it with minikube ssh:
minikube ssh -- sudo mkdir -p /mnt/data/devsyCreate the persistent volume:
kubectl create -f ~/devsys/devsy-pv.ymlConfirm that the volume exists:
kubectl get pv
NAME                                       CAPACITY   ACCESS MODES   RECLAIM POLICY   STATUS      CLAIM   STORAGECLASS   REASON   AGE
devsy-pv                                  1Gi        RWO            Retain           Available                                   12d
Locate your kubeconfig
List the ~/.kube directory:
ls ~/.kube
cache  completion.bash.inc  config
The config file in ~/.kube is the kubeconfig for the Kubernetes provider. Set the kubeconfig path in the provider to:
/home/dev/.kube/configIn production, give the kubeconfig a specific context, namespace, and user. Install kubectl on the machine where the Devsy client runs, because the Kubernetes provider runs kubectl with the local kubeconfig to reach a remote cluster.
Identify your namespaces
The Kubernetes provider needs a namespace. This example uses default.
kubectl get ns
NAME              STATUS   AGE
default           Active   12d
kube-node-lease   Active   12d
kube-public       Active   12d
kube-system       Active   12d
Add Provider
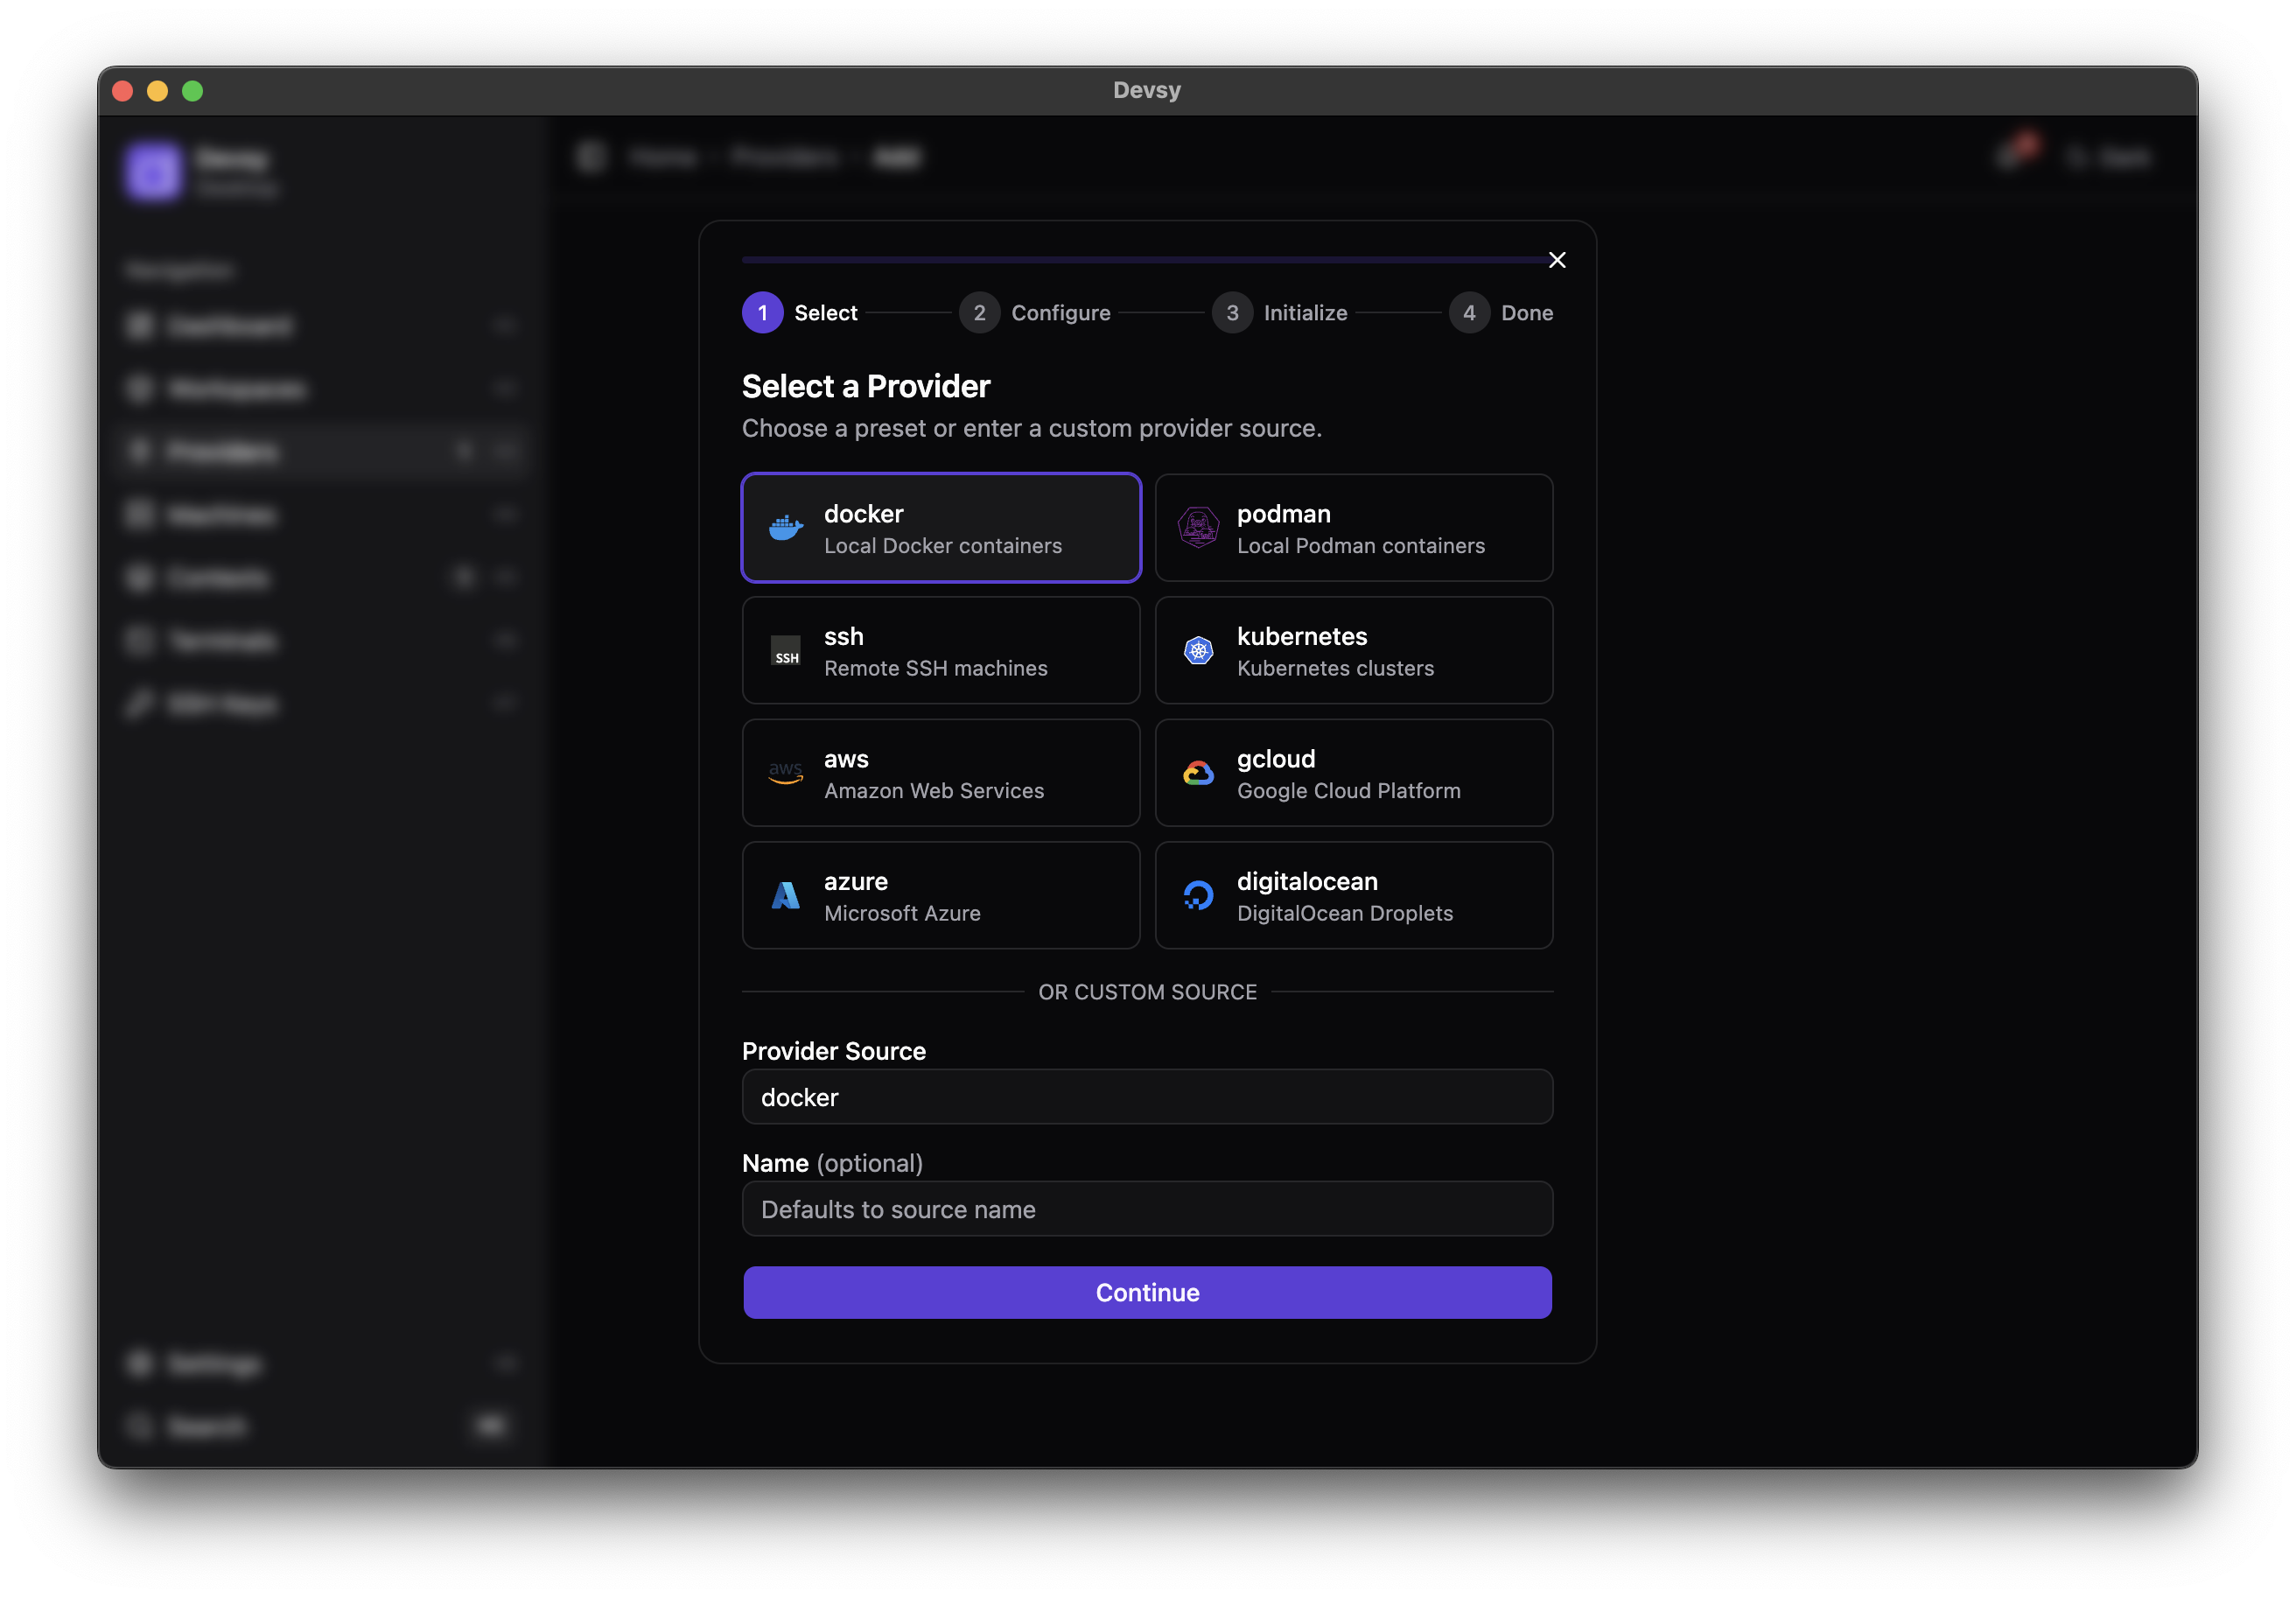
Go to Providers > + Add and select the Kubernetes provider.
Configure the Kubernetes Provider
| Setting | Value |
|---|---|
| Kubernetes Namespace | default |
| Disk Size | 1Gi |
| Kubernetes Config | /home/dev/.kube/config |
Select Add Provider
Add a Workspace
Start a workspace with VS Code Browser
Go to Workspaces > + Create. Enter your project URL or pick one of the quickstart examples. Under Default IDE, select VS Code Browser.
Click Create Workspace.
Devsy shows the workspace starting in a new window. When the workspace is ready, VS Code opens connected to the devcontainer.